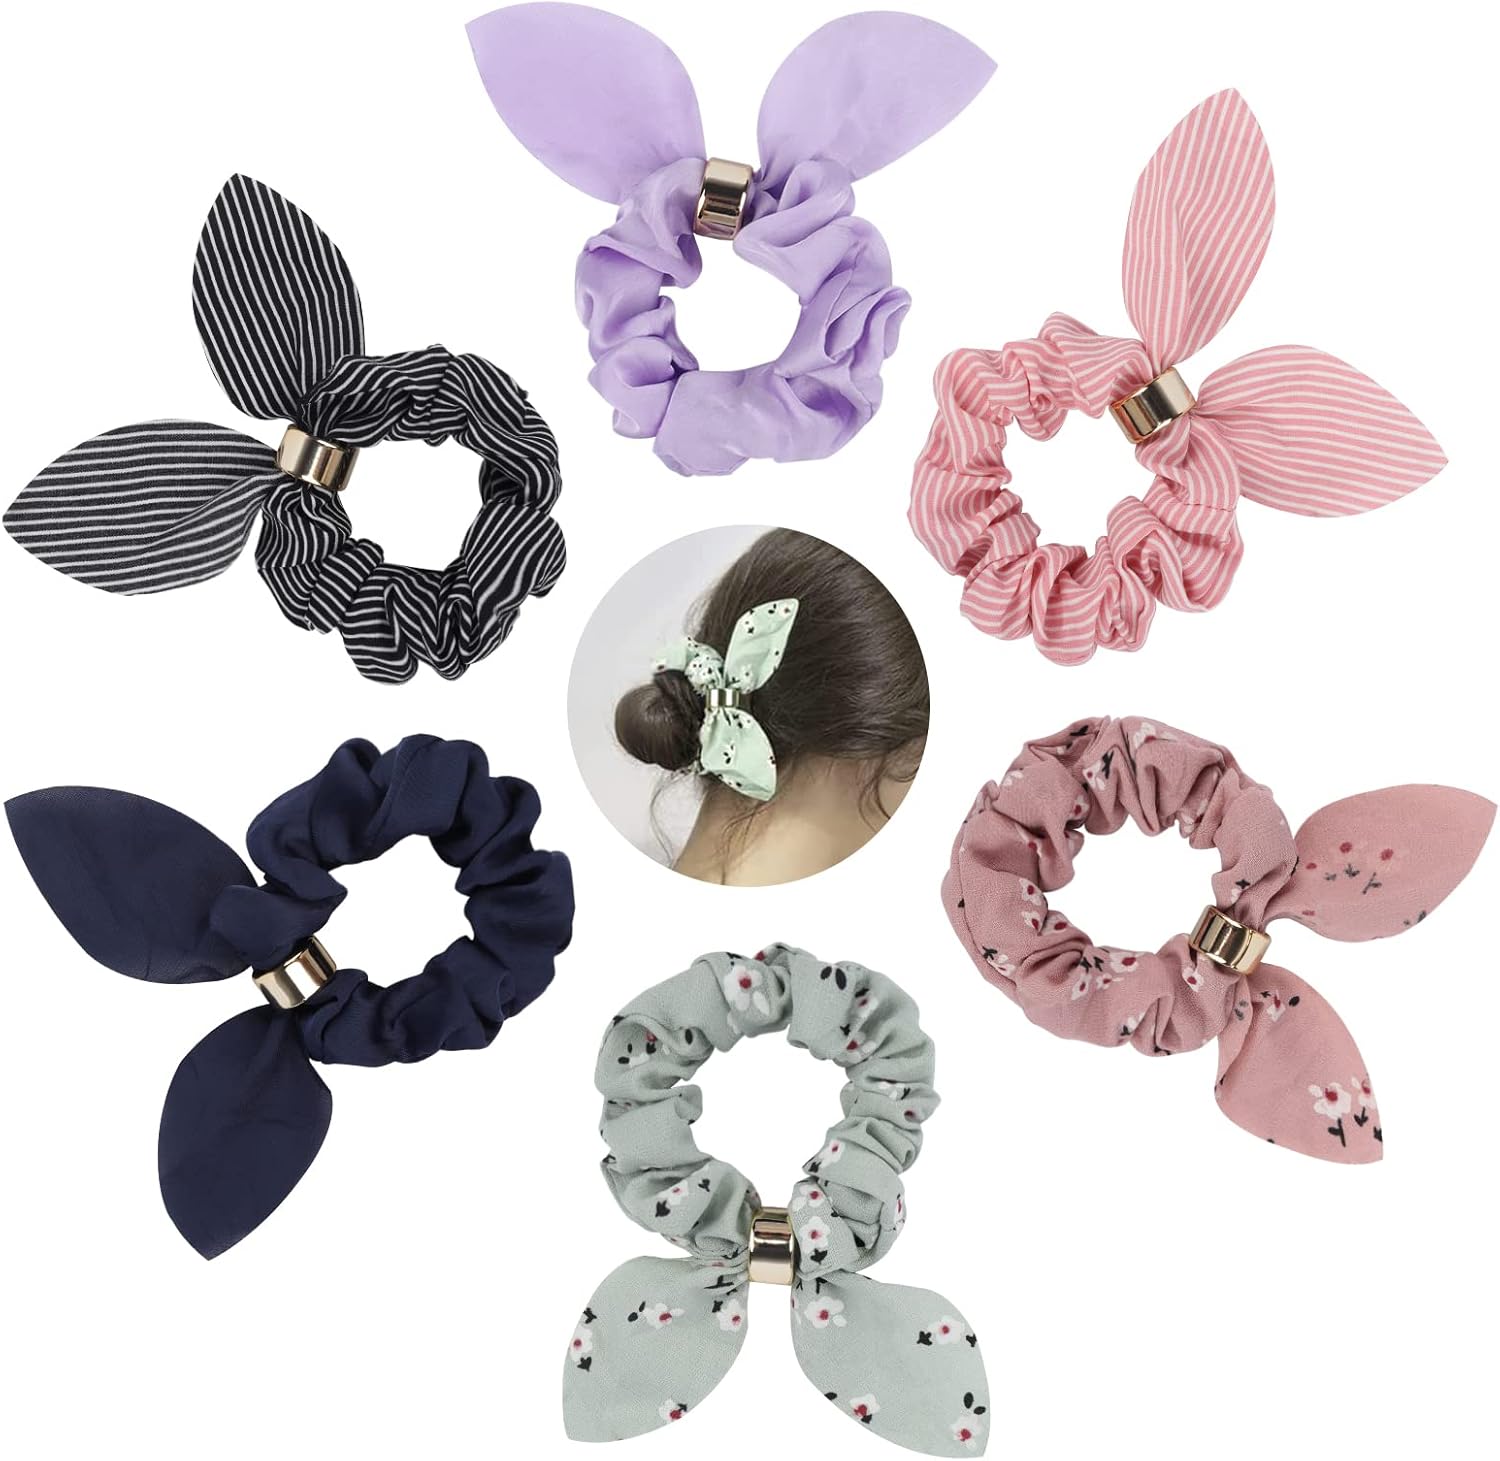
Scrunchies for Girls 6 Pack Large Hair Bow Chiffon Scrunchie Ponytail Holder Elastic Bands Hair Ties Ropes Stripe Hairband Accessories for Women Kids Teenager
£9.9£99Clearance
Shared by
ZTS2023
Joined in 2023
82
63
About this deal
If you don’t want to sew the opening by hand, you can sew the gap closed using a sewing machine. To do this, fold the opening closed, and secure it with pins. Using a straight stitch, sew very close to the edge of the fabric. There will be a small seam, but I don’t think you’ll notice it much while you’re wearing the scrunchie.
January 2022 update: the scrunchie pattern has been updated to include more sizes! You can now make mini, regular, large, and XL scrunchies. The new design is based on the 13 professional scrunchies I bought and deconstructed. Sew along the open edge, leaving a 1″ gap (2.5cm) in the middle (where the straight part is). Sew with a 1/4″ (0.6cm) seam allowance. Wow! You are finished learning how to make a scrunchie! Wasn't that easy? Now you can DIY scrunchie in every color of the rainbow. More Hair Accessory Tutorials Then, once you’ve made the bow piece, tie it onto the scrunchie. I highly recommend securing the bow with a few hand stitches or a dab of fabric glue.Heavier fabrics like velvet look expensive and sophisticated. But they can be a bit harder to sew because the pile makes them slip around underneath the sewing machine’s presser foot.
We hope this article was useful for you! If you have any additional questions, feel free to join my Facebook Group. We created this group for you to share pictures, ask questions, and help each other out.Topstitch around the edge of the bow shape. If you don't want to topstitch, you can just handstitch the gap closed. Unfold the edges you just ironed. Place the short ends together, with the “nice” sides of the fabric facing each other. Pin them together (optional). If you don’t have access to a printer, here are the measurements so you can draw your own: it’s 11 6/8″ (30cm) wide, 2 6/8″ (7cm) tall in the middle, and almost 4″ (10cm) tall at the highest point. 2. Fold the bow in half, sew it & leave a gap in the middle
*So you can easily identify outgoing links on our site, we've marked them with an "*" symbol. Links on our site are monetised, but this never affects which deals get posted. Find more info in our FAQs and About Us page.
 Joined in 2023
  82
82  63
63
