About this deal
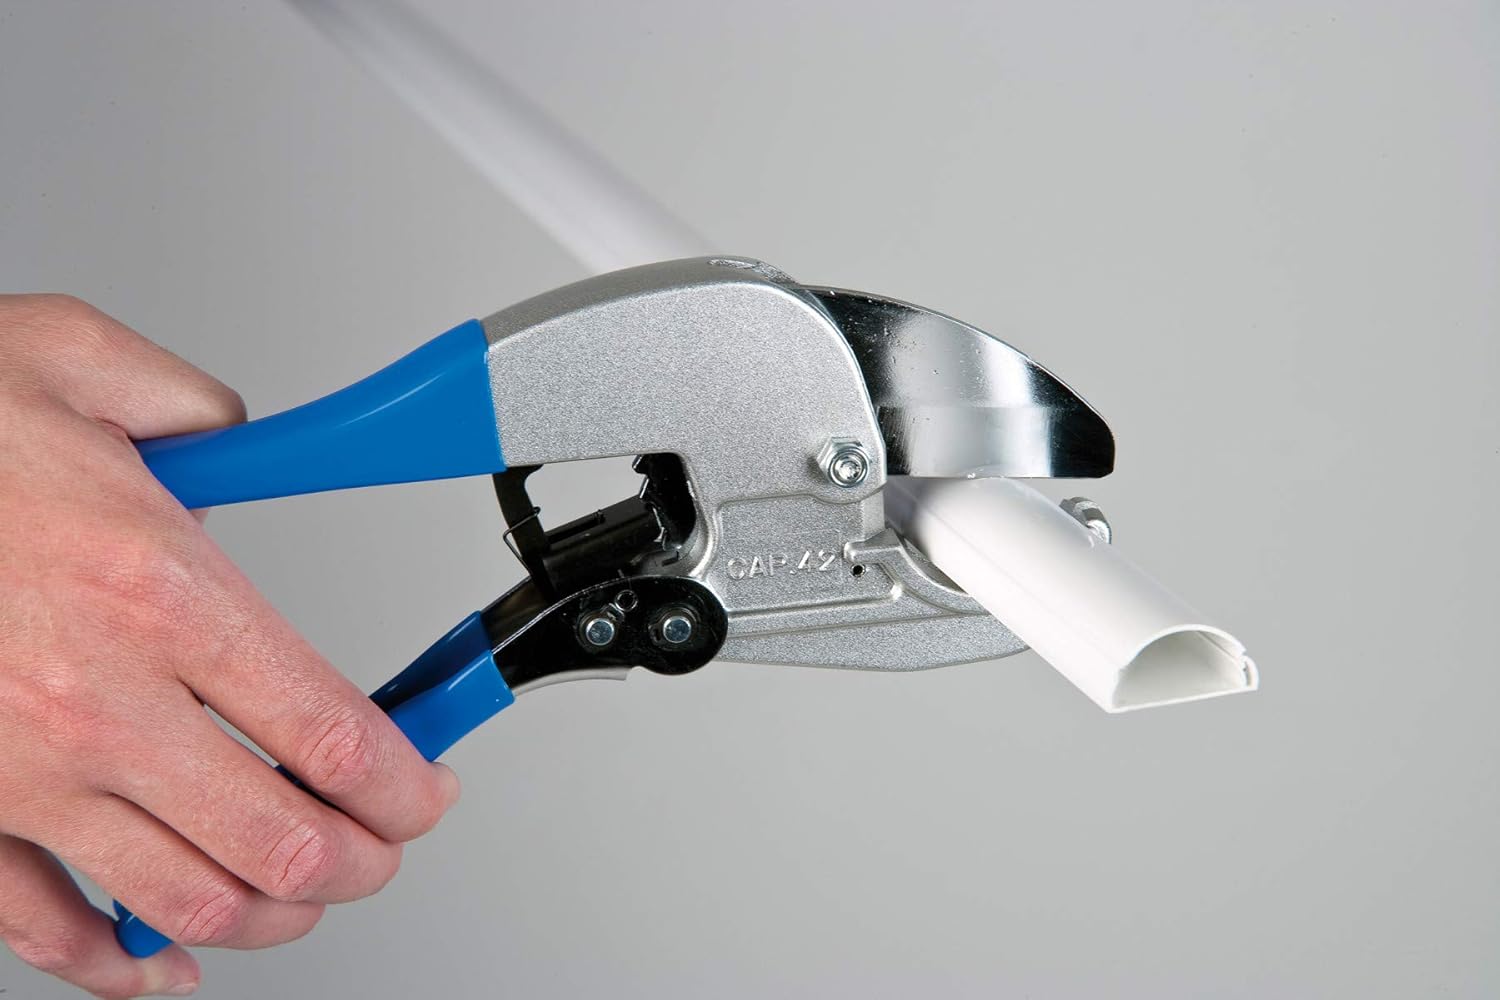
The toggles are ideal to keep the cables away from the trough area under the top-lid. But ensure they are pushed down, and secure on selected pillars in the cable cavity. Skirting trunking, also known as wall skirting trunking, is a type of cable management solution used to conceal and protect cables along the base of walls. It serves a dual purpose, enhancing both aesthetics and functionality. This type of trunking is prevalent in commercial and residential spaces, offering a neat and organized way to route cables without compromising the interior design. Step 1: Planning Measure and Mark Begin by measuring and marking the areas where you intend to install the mini trunking. Make sure to consider the path of the cables and any obstacles in the way. Cut the Trunking Using a saw, cut the trunking to the required lengths. It's crucial to have precise cuts to ensure a neat installation. Well BAS, as I already pointed out, by the time you have made and fixed the spacer, you've done most of the work anyway. So for the sake of a couple of minutes to drill out some holes with a hole saw, and then run the nibblers along the slot - job finished as I've done it.
Your way: You still have to make the spacer, you still have to cut holes in it to match the holes in the enclosure, you've MORE work to do to fix it since many materials will sag and open up a gap (IP4x gone) if not fixed as close intervals, and then you have to fix two short pieces of trunking on an uneven wall that's a PITA to fix things to (no, you really can't drill drill a hole and pop a plastic plug in) and make sure you get them aligned. Plastic cable trunking is a popular choice for a relatively simple and cheap conduit option that’s robust enough to withstand everyday hazards like dirt and moisture. It can also be bought in both rigid and flexible lengths, depending on whether you need to prioritise physical protection or routing convenience. With the trunking in place, it's time to secure the cables. Use cable clips to organize and hold the cables within the trunking. This step helps prevent tangling and ensures a neat and organized appearance. Electrical wiring outside is classed as a special area, under part P of the building works. We would not advise any electrical DIY works be conducted in a special location unless done by a professional. If the work is done badly you could injure or kill yourself or others. To make a sweeping 90° bend in a 600mm cable tray just make 3 x 30° angles, ie. 3 x 200mmm cut-out sections, or 2 x 45° angles, ie. 2 x 300mm cut-out sectionsIf you haven’t got a cable that’s long enough then you’ll need to join two pieces together. This can be done with a resin jointing kit. However, if you’re asking “how to join armoured cable” then you likely made a mistake with step four.
Cable conduit tends to take the form of a long round tube in various diameters. It can be flexible or rigid and made from several different materials, depending on where and how it’s being installed. We’ll cover some of the more popular trunking and conduit materials in the following sections of this guide.Start by measuring the wall length where you intend to install the skirting trunking. Mark the areas where the trunking will be positioned using a pencil. Inspect the installation for any loose screws or uneven sections. Make the necessary adjustments to achieve a polished and professional look.
 Great Deal